Blog Upload SOP
Standard Operating Procedure (SOP): Blog Upload Process on WordPress
Objective:
Ensure the consistent and accurate uploading of blog posts on WordPress.
- Access the WordPress CMS:
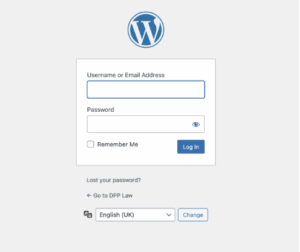
- Open your web browser and navigate to the WordPress CMS of the site you intend to upload the blog for (e.g., https://yoursite.com/wp-admin).
- Log in with your username and password.
- If you do not have access, please speak with JJ, who will be able to create you as a user?
- Navigate to the Blog Posts Section:
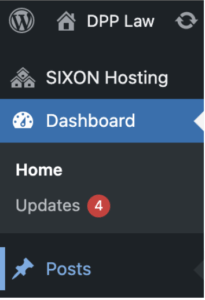
- From the WordPress dashboard, hover over “Posts” in the left-hand menu.
- Click on “Add New” to create a new blog post. If you’re updating an existing post, click on “All Posts” and select the post you want to edit.
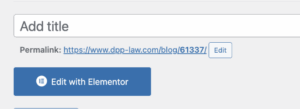
- Enter Blog Post Title:
- In the “Add Title” field, enter the blog’s title. Ensure it’s correctly formatted and uses proper capitalisation.
- Add Blog Content:
- Copy the prepared blog content and paste it into the WordPress block editor Text option. Make sure the ‘text’ field is selected in the top right-hand corner
- Ensure proper formatting (headings, paragraphs, bullet points, etc.).
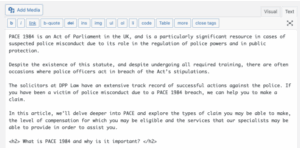
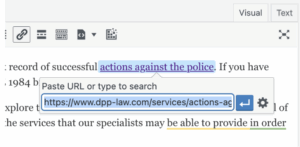
- Add internal and external links where appropriate. For this part, change back to the visual tab, highlight the anchor text, then select the “insert/edit link” option. Then you can paste the link into the box.
- Set the Featured Image:
- In the right-hand settings panel, click on “Set featured image.”
- Upload the designated blog image or select one from the media library. Ensure it’s appropriately sized and optimised.

(please review image optimisation SOP prior to completing this step)
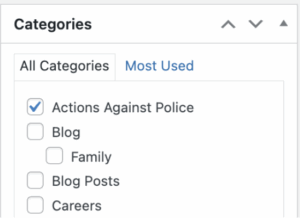
- Add Categories
- Under the “Categories” section on the right-hand side, select the relevant category for the blog post.
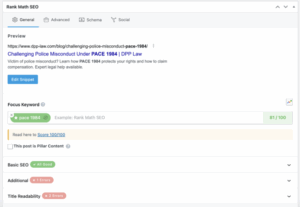
Complete Rank Math SEO Fields:
- Scroll down to the Rank Math SEO section below the post editor.
- Enter the focus keyword in the “Focus Keyword” field.
- Fill in the SEO title, meta description, and permalink as recommended. Ensure they align with best practices and contain the focus keyword from the original brief.
- Follow Rank Math’s suggestions to improve SEO and aim for a high score.
- Add schema markup if applicable (e.g., FAQ schema if the post contains a Q&A section). Use the confirmed schema tool to produce and use the custom schema block situated at the bottom of the page to insert. If this block is not available, raise it with JJ.
- Review and Proofread:
- Use the “Preview” button to view the post as it will appear live. This will appear on the right-hand side of the page, under the “publish” section.
- Check for spelling, grammar, formatting issues, and broken links.
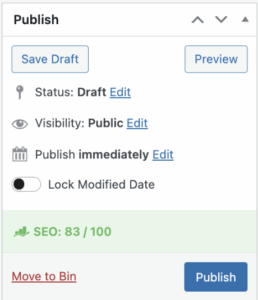
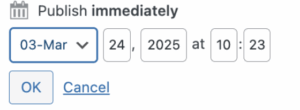
- Schedule or Publish:
- If the post is to go live immediately, click “Publish.”
- If scheduling for a future date, click on the “Immediately” link next to “Publish” and select the desired date and time.
- Final Check:
- Confirm the post has been published or scheduled correctly by viewing it on the live site.
- Ensure images display properly and links work as expected.
- Also, check the appearance of the blog post on mobile.
- Manually Update the Sitemap Using Rank Math:
- In the WordPress dashboard, go to Rank Math > Sitemap Settings.
- Toggle the “Posts” sitemap off and then back on to refresh the sitemap.
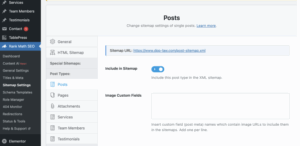
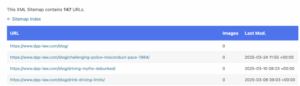
- Confirm that the newly published blog post is now included in the Rank Math-generated post sitemap by hitting the “sitemap url” and searching for the URL of your upload.
- Confirm and Request Indexing in Google Search Console:
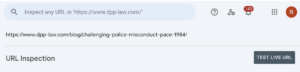
- Head to Google Search Console and select the correct site property.
- Enter the URL of the newly published blog post in the “Inspect any URL” field.
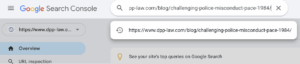
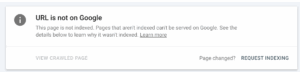
- Click “Test Live URL” to ensure the blog can be accessed by crawlers and is eligible for indexing.
- Once confirmed, click “Request Indexing” to prompt Google to crawl and index the post.
- Communication
Once all prior steps have been followed and confirmed
Communicate completion of tasks internal and external:
Internal: Through the client-specific Slack channel.
External: Client-specific Basecamp, Always create a new thread for all new tasks actioned.